
While making a blog or article we often need to enter the graphics of a program or a display screen.
To take a screen shots actually can be done easily, without having to install any software at first.
The key to all this shooting process is the PrtSc key AKA Print Screen button.
Here is an example of how to take existing images on your computer screen.
Select a specify display you want to save.
Adjust the position and shape of the display you like, both size and position of the image.
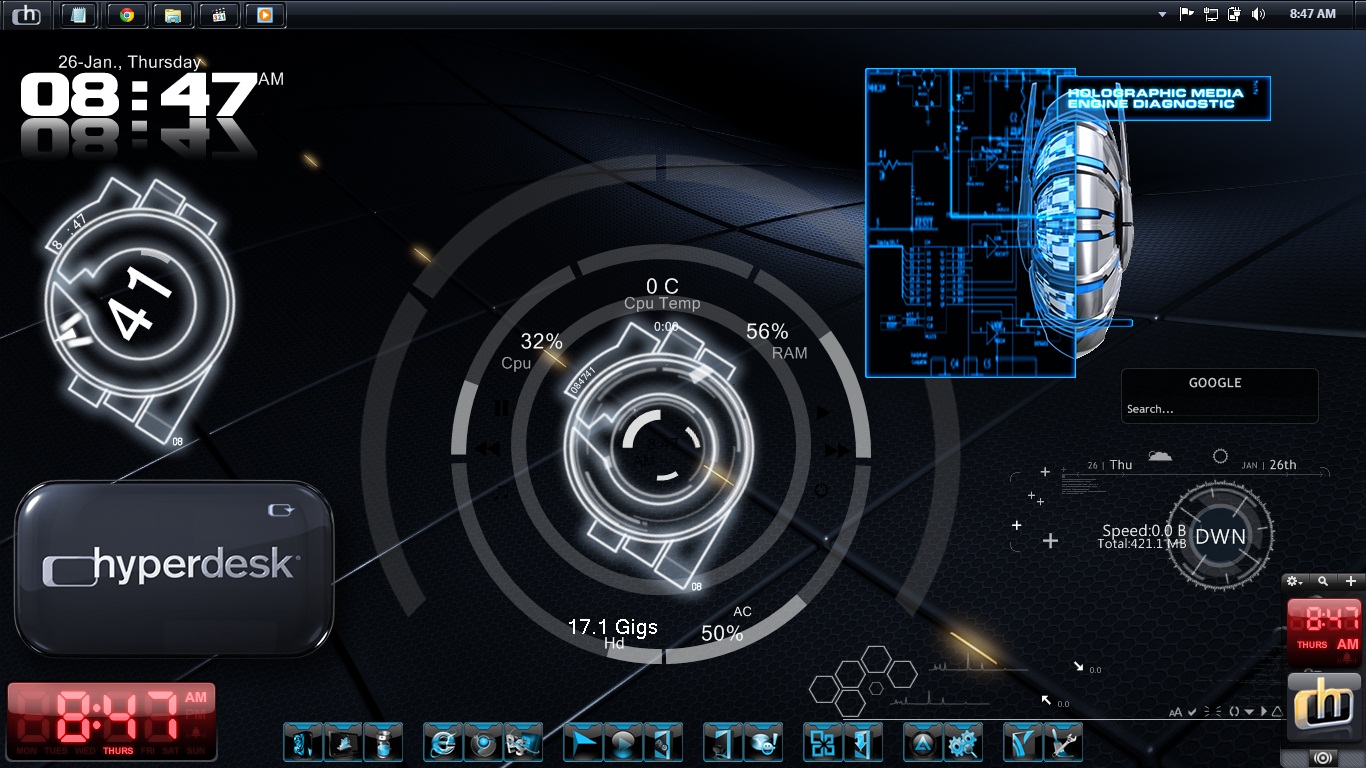
For example, we will take pictures of this desktop screen
Use the PrtSc button
Press the PrtSc to take the entire image display screen or, -
Press alt + PrtSc to capture the screen display is currently active.
Open the Image Editor

By default, when you use Microsoft Windows then it will be included a program called Paint, that you can use to store a pictures.
Usually the program is located in the Start Menu Programs Accessories Paint.
Insert Picture

Click paste or press ctrl + V to perform the insertion of images in an image editor.
Save the image

Give the file name and save your images in accordance with the results you want.
For Paint program in Windows 7, will be offered in the form of PNG format
For XP I think it was offered in the form of BMP format
For the JPEG format will generally result in smaller file sizes.
You can combine or improvise a way to take screen shots of this so it looks more beautiful, for example by using tools such as Corel Draw, Adobe Photoshop or even Microsoft Word.
No comments:
Post a Comment
Note: Only a member of this blog may post a comment.